How to apply Highlighter in a couple of seconds
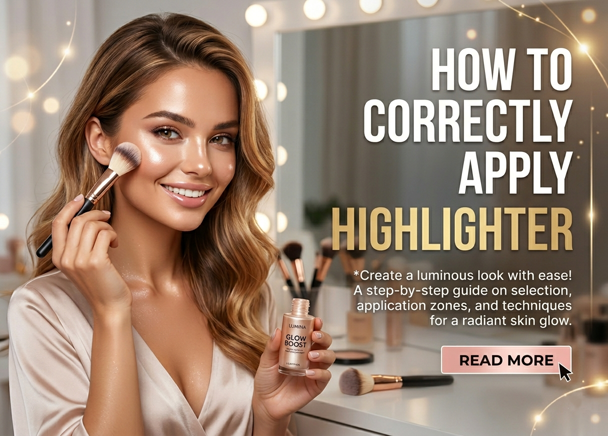
A shiny makeup doesn't do without a highlighter! This product is the main tool in the cosmetic bag, capable of turning tired skin into a radiant "cover face" in a couple of seconds. However, many still make a mistake, turning the whole face into one continuous highlight. How to apply highlighter professionally? We understand the simple rules.
Highlighter is not just glitter. This is a product that works with light: it "pushes" forward the parts of the face that we want to emphasize, creating the effect of rested and illuminated skin from within.
The golden rule: where to "catch" the light?
If you want to achieve a natural strobing effect, remember the "C-zone" and the central points of the face. Makeup artists apply highlighter where the light naturally falls:
The top of the cheekbones: This is a classic. Apply the product from the center of the cheekbones to the temples, as if drawing a "C". This immediately visually "lifts" the face.
The back of the nose: A thin line in the center of the nose (but not reaching the tip, if you don't want to add extra volume) makes the nose look more graceful and neat.
The tick above the upper lip (the Cupid's arch): This technique visually adds volume to the lips and makes the outline more defined.
Inner corners of the eyes: A drop of highlighter here "opens up" the look and removes the traces of a sleepless night.
Under the eyebrow: Just a couple of strokes just above the tail of the eyebrow will help to "raise" the eyelid and make the look more open.
Secrets of professionals: what is important to know
Texture matters. Dry highlighters are better to apply with a fluffy brush on a face already powdered. Creamy products are better "friends" with foundation and require application with fingers or a damp sponge — this way they literally melt into the skin, creating the effect of the most natural glow.
Be careful with the texture of the skin. If there are active inflammations or pronounced pores on the skin, it is not worth applying highlighter to these areas — the reflective particles will only emphasize the relief. In this case, make an emphasis on the cheekbones, away from the problem areas.
The secret of "wet" shine. If you want to achieve the effect of glass skin, use a cream highlighter without large sequins. Apply it with patting movements on top of creamy blush — this creates a very fresh and "expensive" finish.
The main mistake
Never apply highlighter all over your face — it will flatten it and create a greasy shine effect. Highlighter is an accent, not a foundation. Two or three key points are enough to make the makeup look complete and radiant.
Remember: makeup is not a strict instruction, but a creative process. Experiment with shades (champagne, pearl, gold, or pink) and find the one that makes your skin shine the brightest!